行者无疆 始于足下 - 行走,思考,在路上
About framebuffer
 初次接触framebuffer这 个概念是在去年的9月,那个时候安装archlinux,进入X后觉得console好丑,quark一来,在grub启动的menu.lst上加了一句 vga=792,瞬间console就变成1024*768的分辨率了。先是感到惊喜,再叹quark的神通,三来意识到自己和别人的差距。关于怎样开启framebuffer,grub的配置文件注释里面有很好的说明,这里是我的部分配置menu.lst:
#  FRAMEBUFFER RESOLUTION SETTINGS
#     +-------------------------------------------------+
#          | 640x480    800x600    1024x768   1280x1024
#      ----+--------------------------------------------
#      256 | 0x301=769  0x303=771  0x305=773   0x307=775
#      32K | 0x310=784  0x313=787  0x316=790   0x319=793
#      64K | 0x311=785  0x314=788  0x317=791   0x31A=794
#      16M | 0x312=786  0x315=789  0x318=792   0x31B=795
#     +-------------------------------------------------+
#  for more details and different resolutions see
#  http://wiki.archlinux.org/index.php/GRUB#Framebuffer_Resolution

# general configuration:
default   0
timeout   3
color light-blue/black light-cyan/blue

# boot sections follow
# each is implicitly numbered from 0 in the order of appearance below
#
# TIP: If you want a 1024x768 framebuffer, add "vga=773" to your kernel line.
#
#-*

# (0) Gentoo Linux
title  Gentoo Linux
root   (hd0,8)
kernel /vmlinuz-2.6.34-gentoo root=/dev/sda5 rootfstype=ext4 quiet vga=792
initrd /initrd
恰好今天下午 做嵌入式系统的实验,LCD 显示缓冲区体验,要求编程序载入一张图片到LCD显示缓冲区,我回到实验室琢磨琢磨,看到了gentoo开机启动时的那只小企鹅图片,tux,想到开机的时候没有启动X,屏幕上显示出了tux图片,那么可以肯定的是,这张图片一定是通过某种驱动直接“写到显存"里面。而在grub的启动是否采用framebuffer,则和这只tux的”生死“有着直接的联系,因此我敢肯定,framebuffer肯定是这次实验的突破口之一。说干就干,回到实验室查了很多资料,对Framebuffer的相关知识做一次小总结。
FrameBuffer 是出现在 2.2.xx 内核当中的一种驱动程序接口。这种接口将显示设备抽象为帧缓冲区。用户可以将它看成是显示内存的一个映像,将其映射到进程地址空间之后,就可以直接进行读 写操作,而写操作可以立即反应在屏幕上。该驱动程序的设备文件一般是 /dev/fb0、/dev/fb1 等等(具体内容请参见:基于 Linux 和 MiniGUI 的嵌入式系统软件开发指南)。
Framebuffer需要内核的支持,如果没有/dev/fb0类似的文件,恐怕要重新编译内核了。我们可以做两个简单的小实验,看看frambuffer究竟有怎样的魔力:
cat /dev/fb0 > screenshot
# or, dd if=/dev/fb0 of=screenshot
# need super user privilege
clear
仔细观察你的屏幕,然后:
cat screenshot > /dev/fb0
# or, dd if=screenshot of=/dev/fb0
# need super user privilege
clear
是不是有点中病毒的感觉?其实,最简单的理解,/dev/fb0是屏幕显示区域内存的一个抽象,前面先把这部分“内存”保存到screenshot里面,然后再将screenshot里面的”内存“拷贝回去,就实现了屏幕的还原。不过,由于我们使用的GUI和CLI的自动刷新,整个屏幕并不能实现100%的“还原”。
一切皆文件,the great Unix Philosophy,通过读写/dev/fb0,我们可以得到对显示屏100%的控制!进一步的讨论可以参考对FrameBuffer的一夜hack。由此,我的嵌入式实验算是基本达到了第二个要求:写入LCD的缓冲区。载入图片是个复杂问题,毕竟图片的格式五花八门,有损压缩、无损压缩;位图、矢量图等等,就连最简单的bmp位图,想要载入,恐怕也要了解bmp图形文件格式,颇费一番周折。此时我又想起来去年的图形学程序,最后一个project就是载入bmp文件作为纹理贴到一个teapot上面,整个程序下来有600行,不便贴出,给出我当时做的作业,其中载入bmp文件的代码可以作为参考。
至于copy两个文件的c语言程序,我也写了两个,采用的是C语言的标准IO和Linux系统调用IO两种方式:
ANSI IO:
#include <stdio.h>
#include <stdlib.h>

#define BUFSIZE 1024

int copyfile(const char * infile, const char * outfile)
{
    FILE *fp1, *fp2;
    char buf[BUFSIZE];
    int n;

    if((fp1 = fopen(infile, "r")) == NULL)
    {
        perror("open file error");
        exit(1);
    }

    if((fp2 = fopen(outfile, "w+")) == NULL)
    {
        perror("open file error");
        exit(1);
    }

    while((n = fread(buf, sizeof(char), BUFSIZE, fp1)) > 0)
    {
        if((fwrite(buf, sizeof(char), n, fp2)) == -1)
         {
            perror("fail to write");
            exit(1);
        }
    }

    if(n == -1)
    {
        perror("fail to read");
        exit(1);
    }
    fclose(fp1);
    fclose(fp2);
    return 0;
}

int main(int argc, char *argv[])
{
    if (argc != 3)
    {
        printf ("Usage: cp from to\n");
    }
    char * file1 = argv[1];
    char * file2 = argv[2];

    copyfile(file1, file2);

    return 0;
}
Linux IO:
#include <unistd.h>
#include <fcntl.h>
#include <stdio.h>

#define BUFSIZE 512
#define PERM 0644

int copyfile(const char *name1, const char *name2)
{
    int infile, outfile;

    ssize_t nread;
    char buffer[BUFSIZE];

    if ((infile = open(name1, O_RDONLY)) == -1)
    {
        perror("open file error");
        return (-1);
    }

    if ((outfile = open(name2, O_WRONLY | O_CREAT | O_TRUNC, PERM)) == -1)
    {
        perror("create file error");
        close(infile);
        return (-2);
    }

    while ((nread = read(infile, buffer, BUFSIZE)) > 0 )
    {
        if (write(outfile, buffer, nread) < nread)
        {
            perror("write file error");
            close(infile);
            close(outfile);
            return (-3);
        }
    }

    close(infile);
    close(outfile);

    if (nread == -1)
    {
        return (-4);
    }

    else return (0);
}

int main(int argc, char *argv[])
{
    if (argc != 3)
    {
        printf ("Usage: cp from to\n");
    }
    char * file1 = argv[1];
    char * file2 = argv[2];

    copyfile(file1, file2);

    return 0;
}
至于两种IO有什么样的区别和联系,我写了一份文档,可以作为入门参考。更进一步的了解已经远远跑题,可以参看jserv的HackingHelloWorld系列。
OK,本次实验超额完成!120分!^_^
言归正传,事实上,有了framebuffer,Linux的console可以变得无所不能!
先上一张图:
在gentoo下,这种效果需要fbsplash的支持,参照Gentoo Wiki(其实当初装gentoo的时候,自己也折腾过这个,但是一直没有启动起来,不明原因,大概是内核版本的问题,可能同样是内核版本的问题,我的bootchart也无法启动![]() )。还有一个类似的项目叫splashy,不过貌似发展比较缓慢,而且应用也不多。
)。还有一个类似的项目叫splashy,不过貌似发展比较缓慢,而且应用也不多。
可能你觉得这就是极限了吧……非也非也!其实有framebuffer,再加上mplayer,我们甚至可以在这样的终端下看视频!!
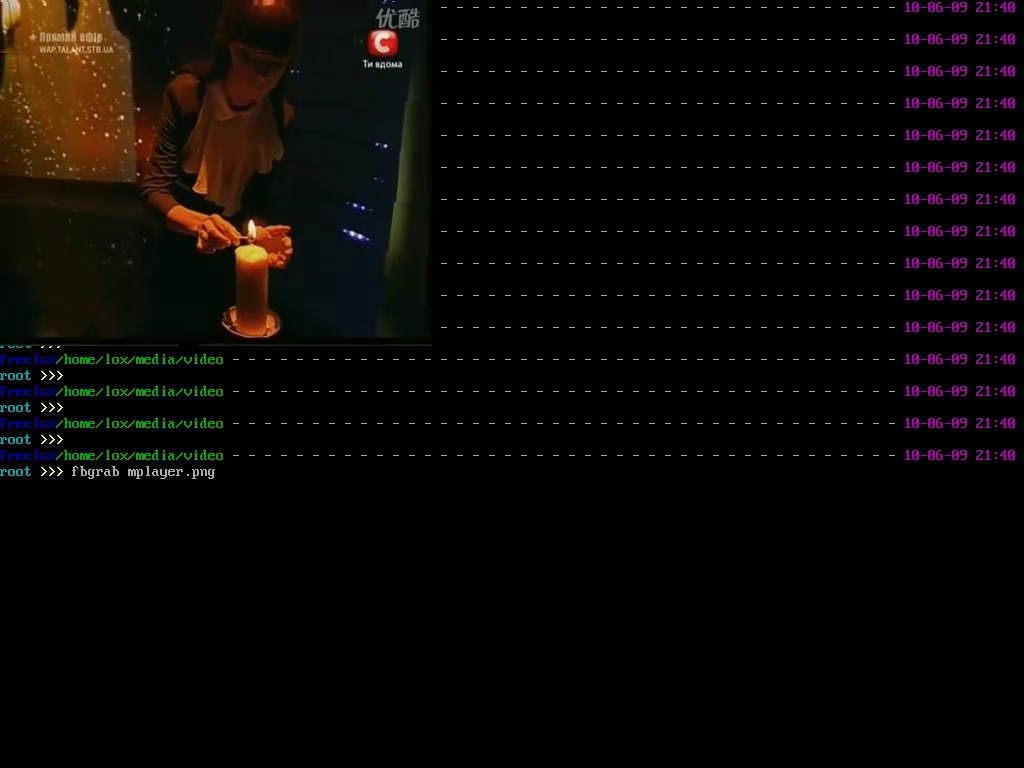
mplayer本身是支持多种VIDEO OUTPUT OPTIONS,其中的一种就是framebuffer:
       fbdev (Linux only)
              Uses the kernel framebuffer to play video.
                 <device>
                      Explicitly choose the fbdev device name to use (e.g. /dev/fb0) or the
                      name of the VIDIX subdevice if the device name  starts  with  'vidix'
                      (e.g. 'vidixsis_vid' for the sis driver).

       fbdev2 (Linux only)
              Uses the kernel framebuffer to play video, alternative implementation.
                 <device>
                      Explicitly choose the fbdev device name to use (default: /dev/fb0).
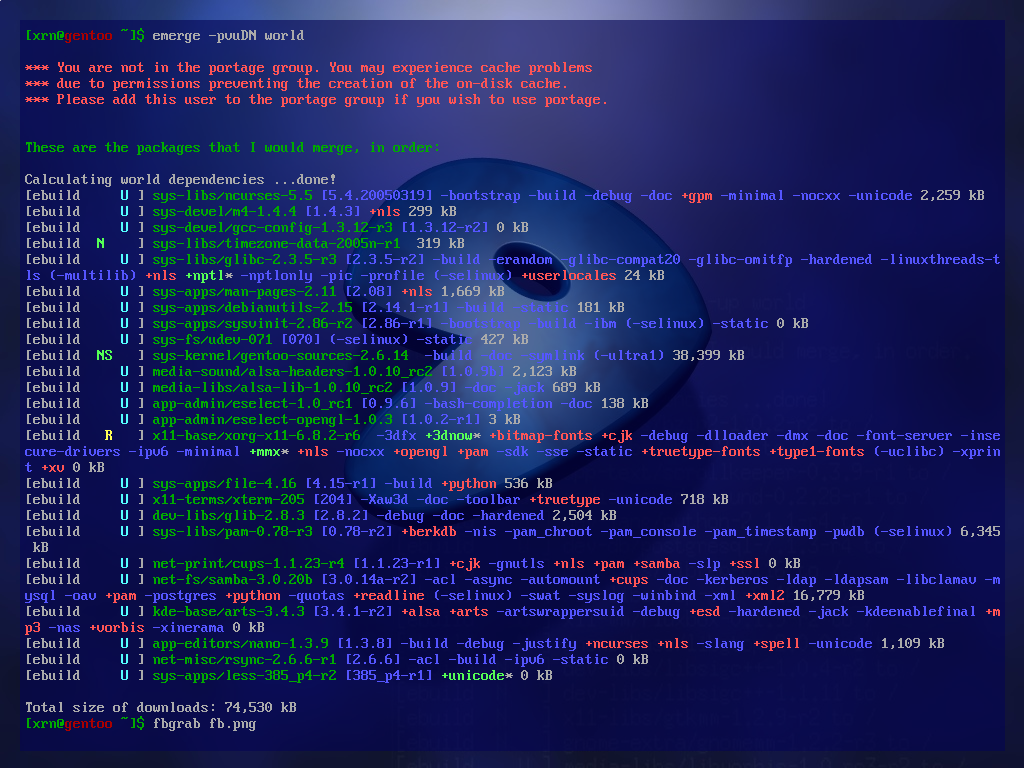
终端截图需要fbgrab的支持。我们在一个终端以super user权限运行:
sudo mplayer -vo fbdev2 videoname
在另外一个终端,同样以超级用户权限运行:
sudo fbgrab filename.png
注意:
- mplayer -vo选项需要为fbdev2,fbdev不行
- fbgrab生成的png格式图像需要转换成jpeg格式才能得到满意的效果,否则视频区域一片透明,这可能与图像压缩算法有关(具体我就不知道了
 )。
)。
差不多了,All about framebuffer。下一次,写一写如何打造高效快捷的终端环境,敬请期待!